We used a raised bed kit. We decided to go with a raised be as our garden is built on the site of an old quarry, and is just limestone and clay, so we have had to raise all beds. If we want to grow root crops, and we do, we need more depth than our other beds, and so have opted for a raised bed, away from the other gardens to gain maximum sunlight and access.

Then we marked out the outline on the existing lawn. There is no need to lift the grass, the garden can be built over the grass, but we wanted to use the grass in other areas of the lawn and so The Agronomist threw his back into it and moved the turf.


o
Layers of mulch, leaf litter and compost were then added. The final layer was good quality clean garden soil. Elder daughter and her husband have a worm farm and gifted us a litre of worm juice and so I made a mix (1 part worm juice to 10 parts water) and applied that that to the entire garden.
Along the way we attracted some new friends ! I think the worm juice may have driven them to new highs of distraction!


Excitement was mounting as time to plant had arrived!

Heritage Black Russian Tomato

A variety of beans,
including a purple variety


a mix of salad and bok choy,

and green shelling peas!

I also planted some coloured spinach, and a rosemary bush to replace the one that died. Well, to replace the two that died. I am hopeful that I will have more luck growing rosemary in a garden than a pot. When we lived in Toowoomba I had no difficulty growing rosemary, but since moving to Brisbane have not succeeded with it. Onward, ever onward, though!

When I finished, I felt quite mother earthish, and imagined I should sit back on a stool and drink tea from an enamel mug while surveying my efforts.
Why an enamel mug, you wonder?
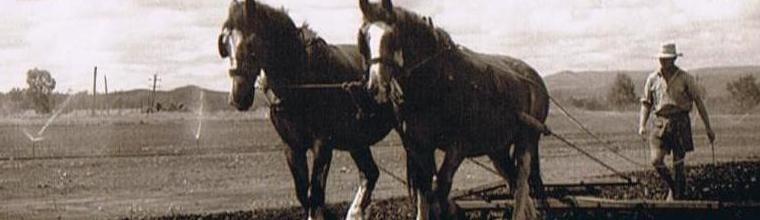
Well, my Dad always drank his tea, when in the garden, from an old enamel mug that I think he may have had long before I was born. (That is my Dad, as a very young man, pictured in the banner) It is one of the clearest memories I have of him, working in the garden and stopping to drink his tea from his “work” mug. I guess he liked it because it was unbreakable, and enduring. It certainly outlasted my Dad, and is now ensconced on a shelf in my Mum’s kitchen cupboard, as though he has just stepped out and will come back for his mug any moment. I wish it was so.
Actually, I wonder if Mum would allow the mug to go to a new garden? It just seems the thing to do, somehow. Yes, it does.

No comments:
Post a Comment
Thank you for visiting Sense of Humus and for leaving your comments - We love to read your thoughts and ideas!